Featured
- Get link
- X
- Other Apps
Bujo Baby!

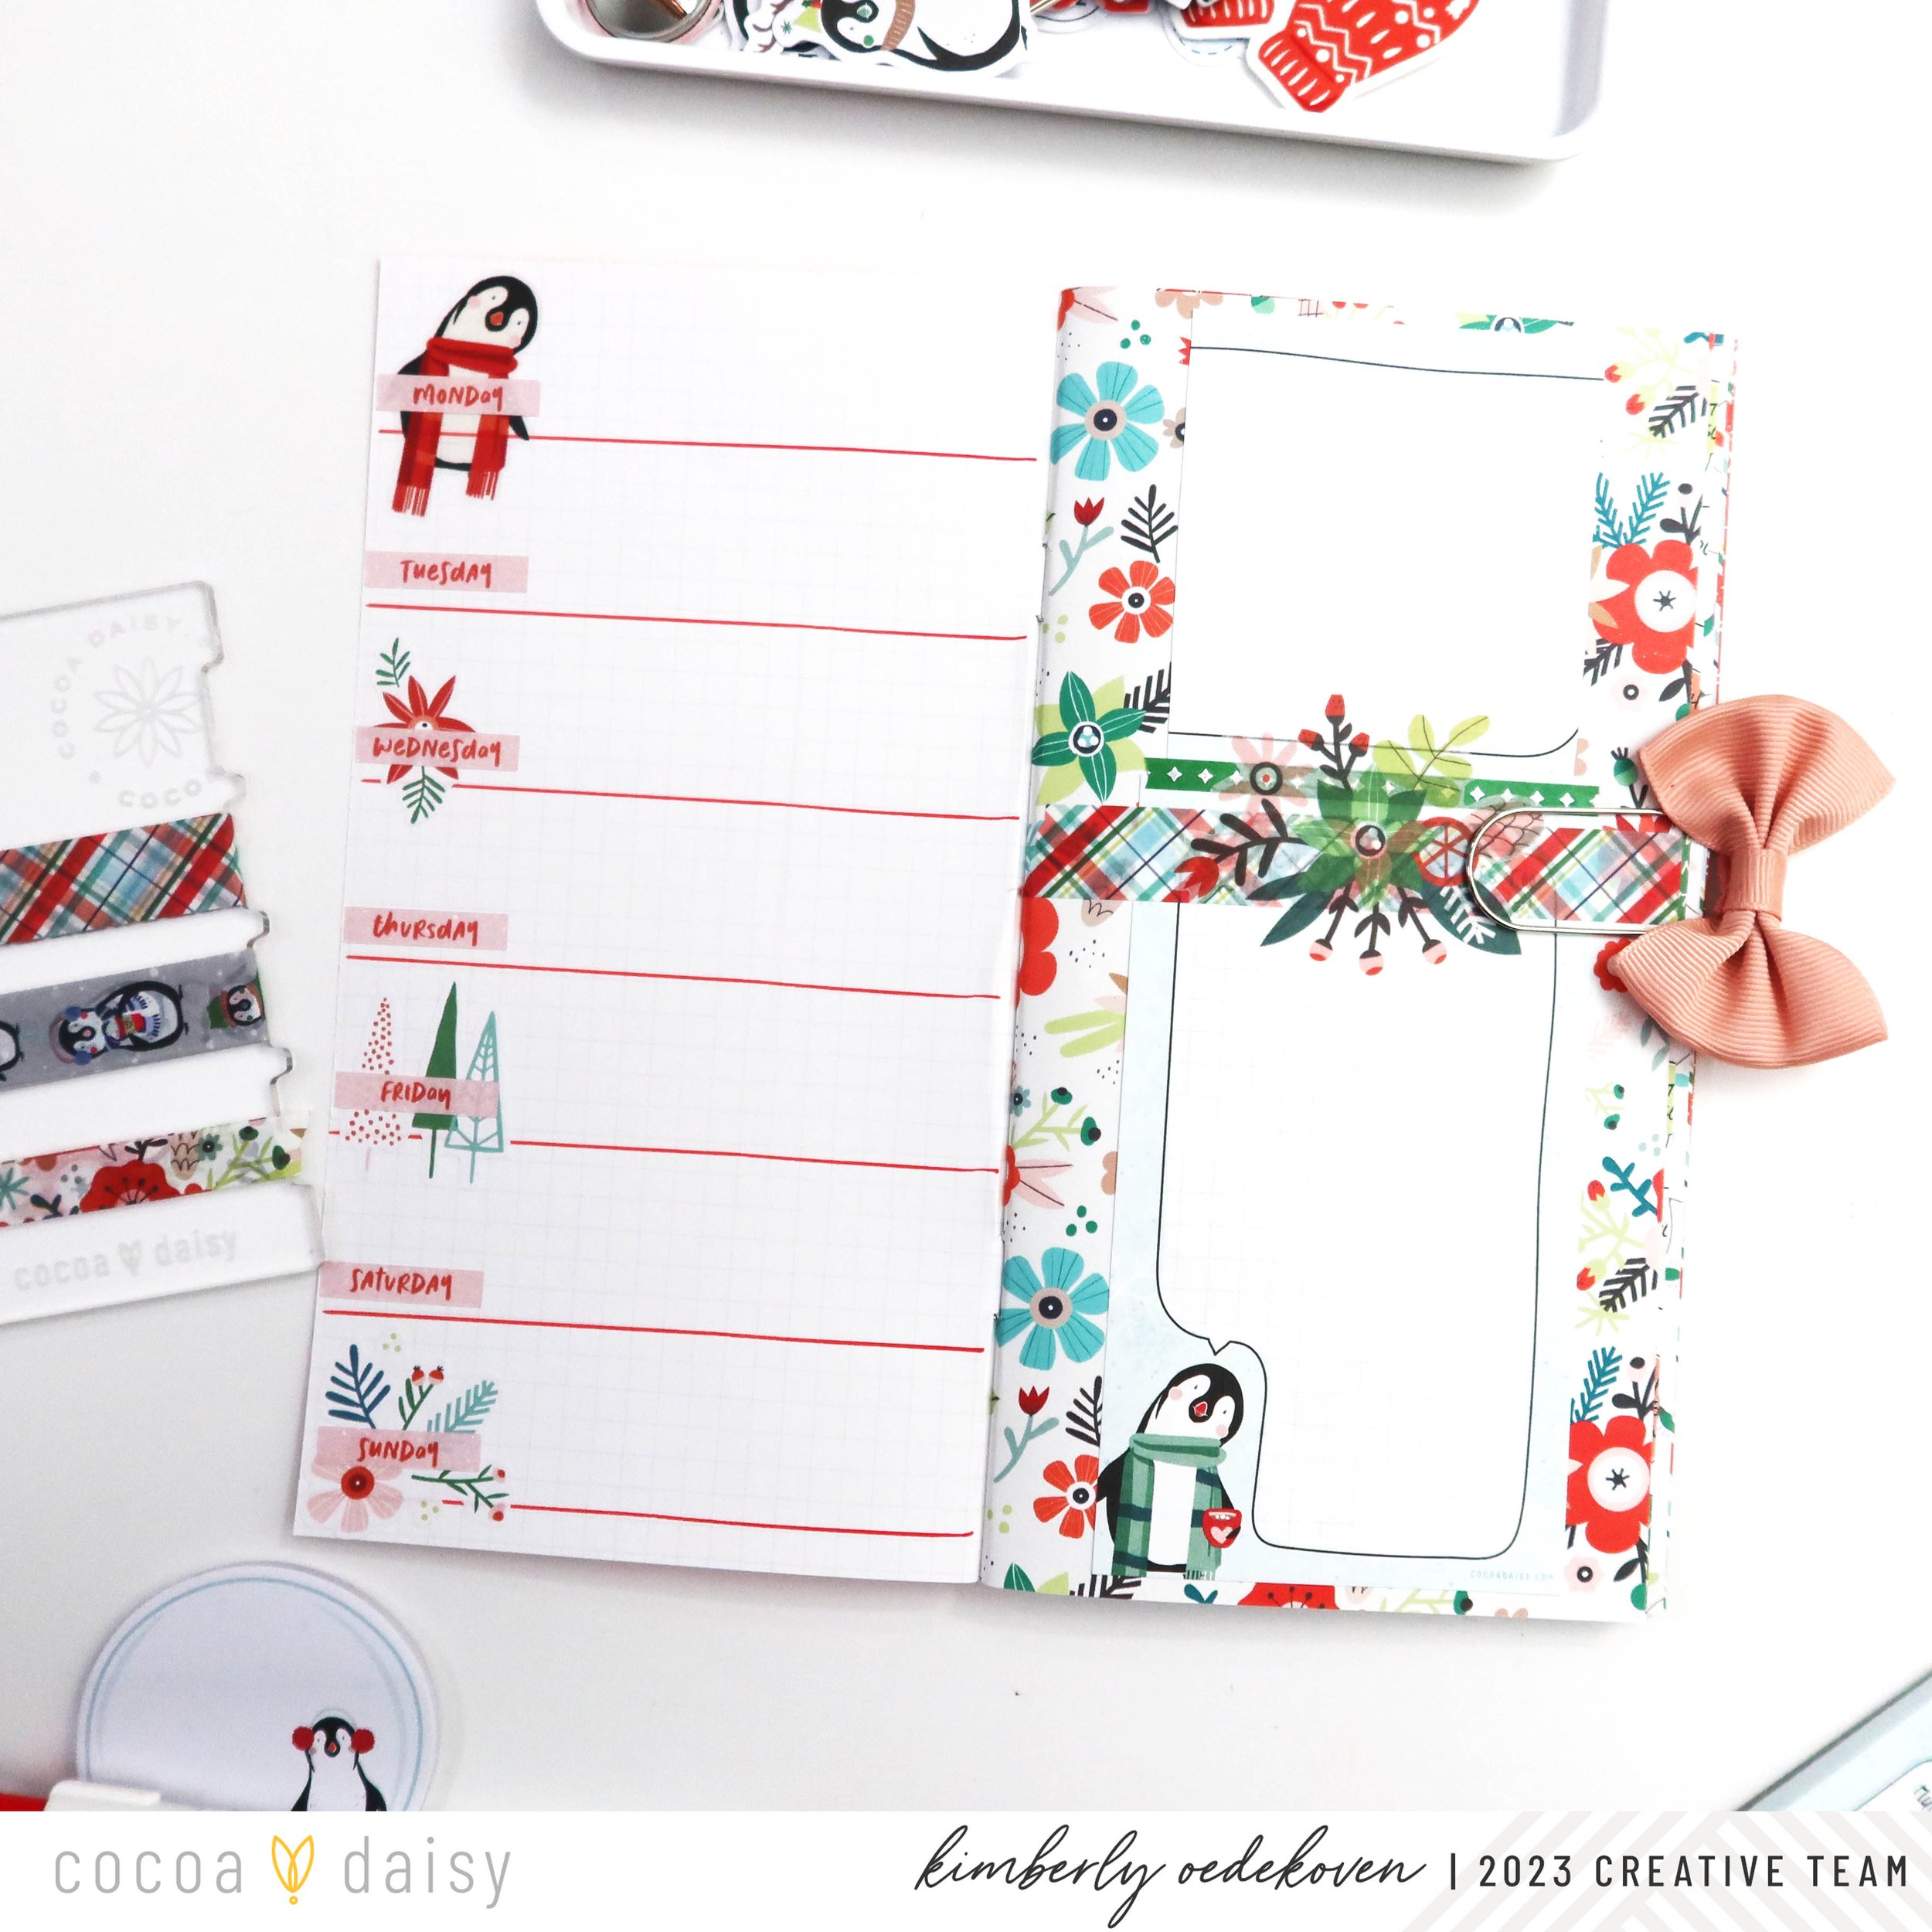
The SimpleDaisy Notebook is geared more toward journaling and memory keeping but I’ve been wanting to try it out for planning. I worked three different weekly spreads on two pages each to show the possibilities of using the Notebook in a different and beautiful way.

In the spirit of the traditional planning inserts offered by Cocoa Daisy each month, I started out by making horizontal blocks with the Stationery Kit Click-Art marker on the square grid side of the page. Quick, easy and it doesn’t have to be perfect though I added a few stickers under the weekday stickers from the Planner Add On Kit.

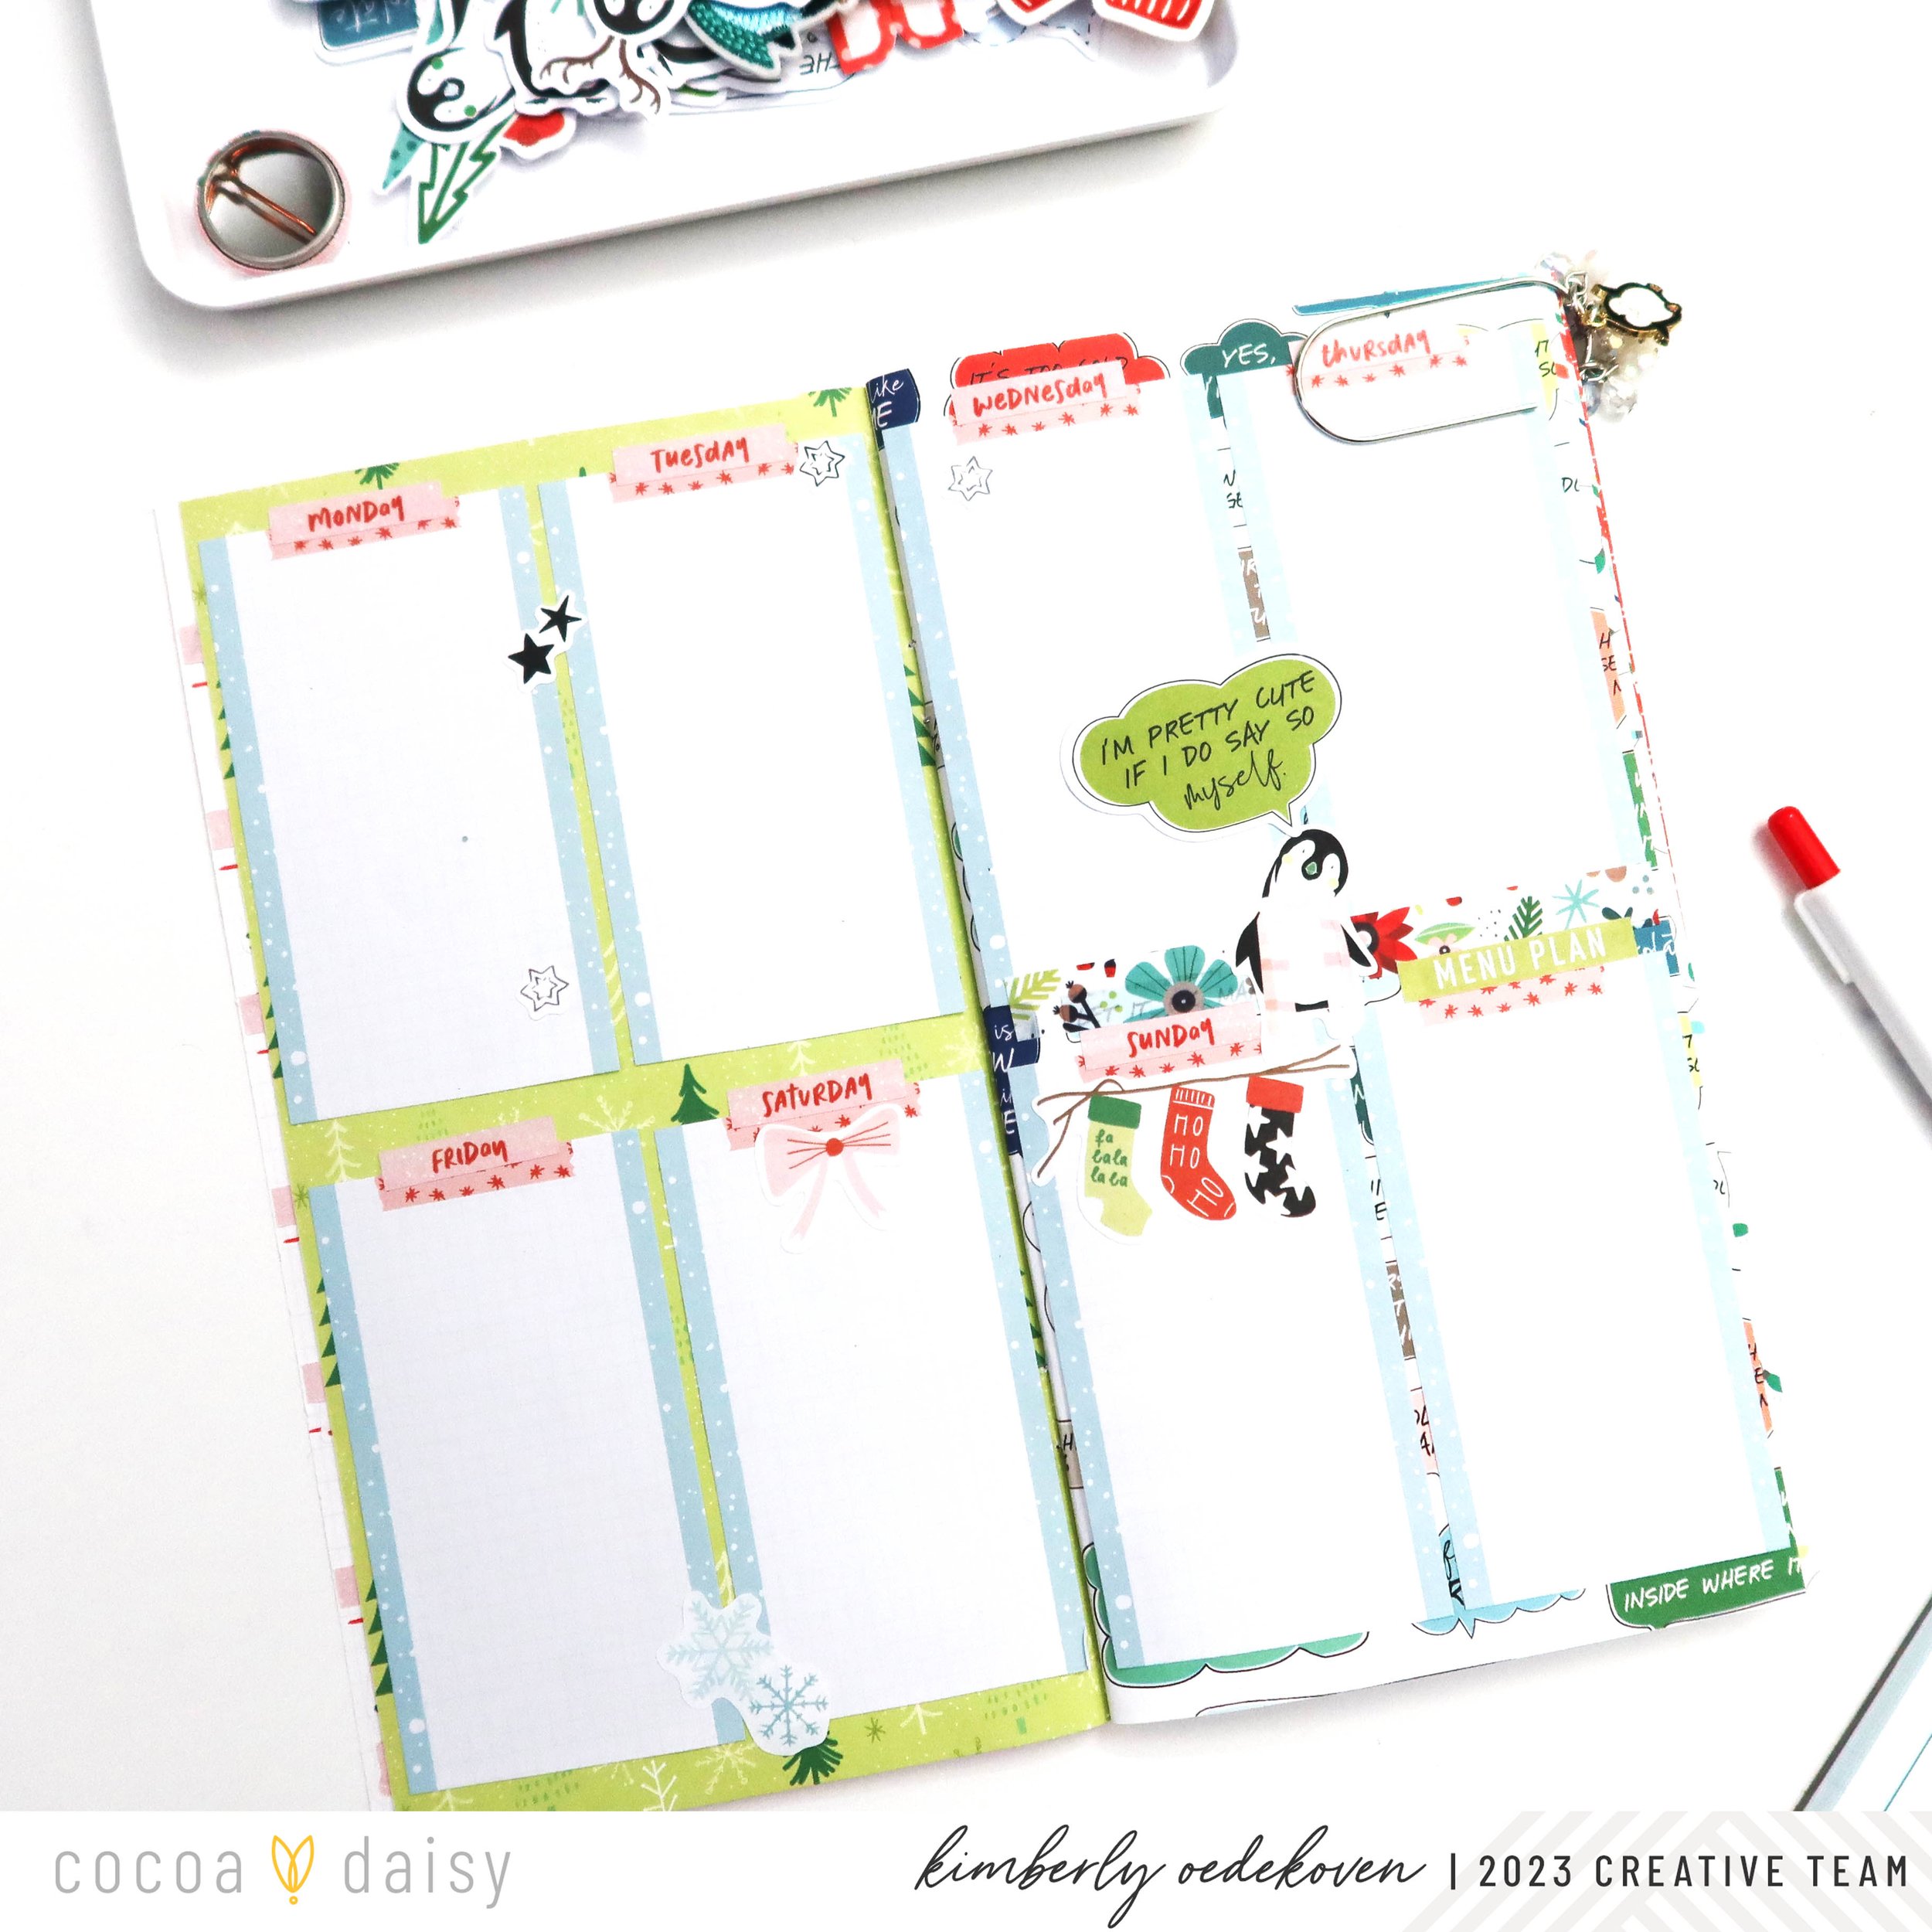
For this next spread, since I rearranged the papers, there were two pattern papers next to each other. Enter the sticky note pad from the Main Planner Kit! I clipped off the top part and just adhered each rectangle. Added some more of the days and die cut stickers and it was a quick way to use a busy background paper spread.

I once again had a grid page to start with so I traced 2 kit packaging squares to create the boxes on the left and then glued those same squares on the right pattern paper. I designated the bottom right with a tracker and meal plan sticker and the upper left is the weekly overview done with the Main Planner Kit Alphas.
Each one of these spreads is really easy to recreate so its always a chance for you to try some easy bujo fun!
- Get link
- X
- Other Apps

