Featured
- Get link
- X
- Other Apps
Ship Shape

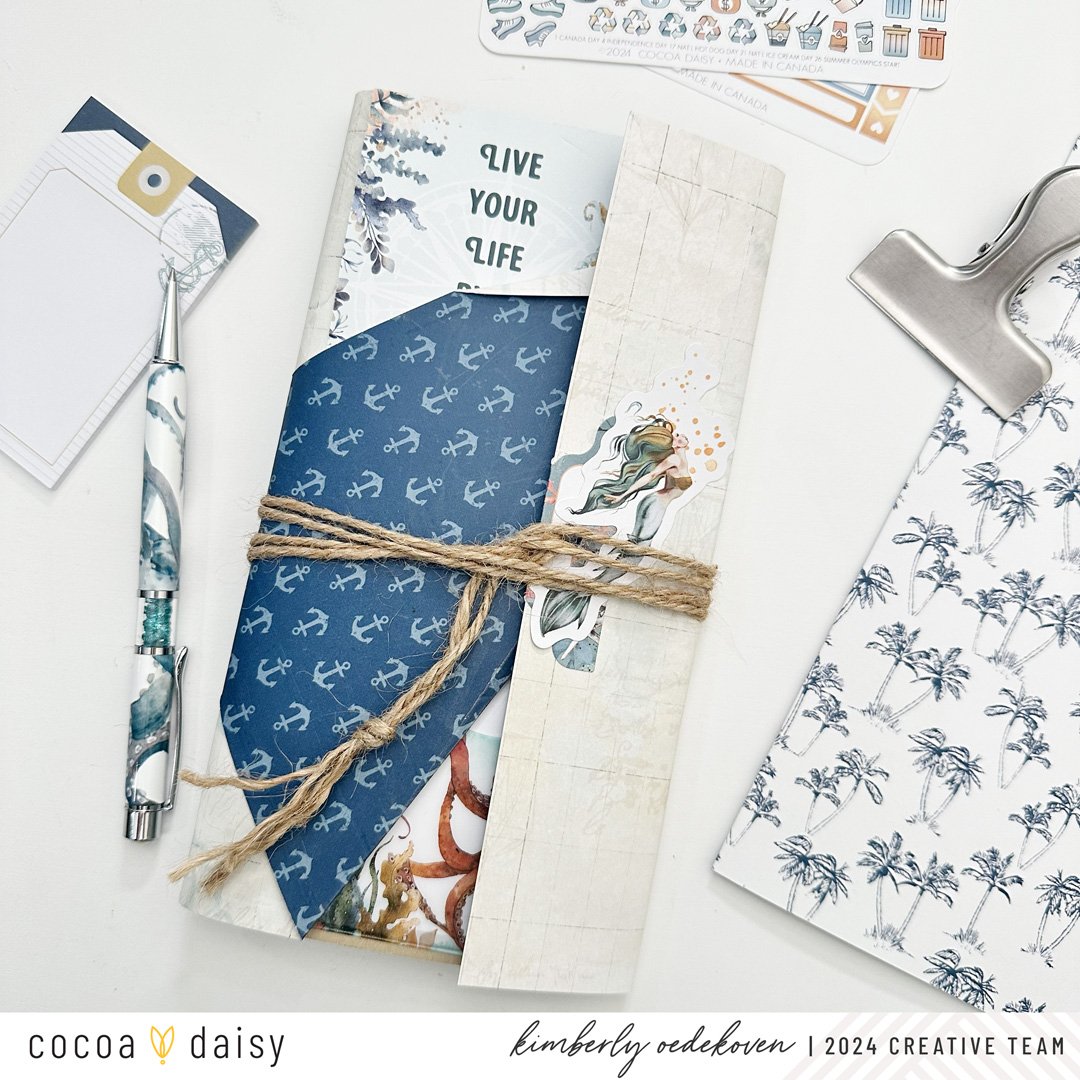
I can only imagine how a mariners log would look like, which inspired my Into the Sea Main Planner Kit project! Using one of the included kit papers, trimmed .25 inches off the top and stapled onto the spine of the existing main planner kit standard size notebooks. I folded the top patterned paper up to create a wrap around pocket and the back side, just folded it over to create a closure.

Underneath, on the kraft paper cover the notebook comes with I placed one of the adhesive pockets to keep my kit sticky notes in. Then for decoration, placed 2 of the fantastic rub ons above to complete the front cover.

Playing off the nautical theme, I put one of the sticky backed die cut tabs to support the hole I punched for threading some rope through. This allows me to wrap the twine around the entire notebook and tuck in the ends for closure. The interior cover flap is also a perfect place to put another adhesive pocket, this time to store some creative stickers.
- Get link
- X
- Other Apps

