Featured

Faux Tag Spread

In a previous Cocoa Daisy project, I created a tag using the October Glow Creative Ki t paper to serve as a bookmark. I loved the idea so much that I decided to use it as a template throughout the spread. By tracing around it and then shading in the edges, I was able to mimic the look of layered paper and give my pages extra depth without the bulk. It creates a dimensional effect that makes the tags look like they’re tucked right into my notebook. To keep that “layered paper” look going, I added strips of washi tape from the Planner Kit to the top and bottom of each 'tag'  Washi is one of my favorite ways to bring in more texture without overwhelming the page. It frames the sections nicely and it also helps divide my to-dos from my daily schedule. On the left-hand side I used a Top 3 box to focus my priorities, then scattered in task lists, appointments, and reminders for the rest of the day. I also I divided my tasks into AM and PM lists I do this quite often because it makes...

Lists on Lists

 https://youtu.be/NISXBnHM2Eg

July for me is less activities and more lists. Places to go, things to do and bucket list items to check off! This 2 page spread in my Standard Size Notebook is a listers playful wish!

On the left, while it looks like a planner kit paper detail is actually a pocket. After ripping and adhering both to the page I added some sticker within and on top of it to make it look like it was embedded onto the pages like the pre printed pages do. Using the vellum overlay and some packaging, I place a row of checklist boxes and flanked each with more vellum stickers on a list bookmark and tucked it into the pocket.
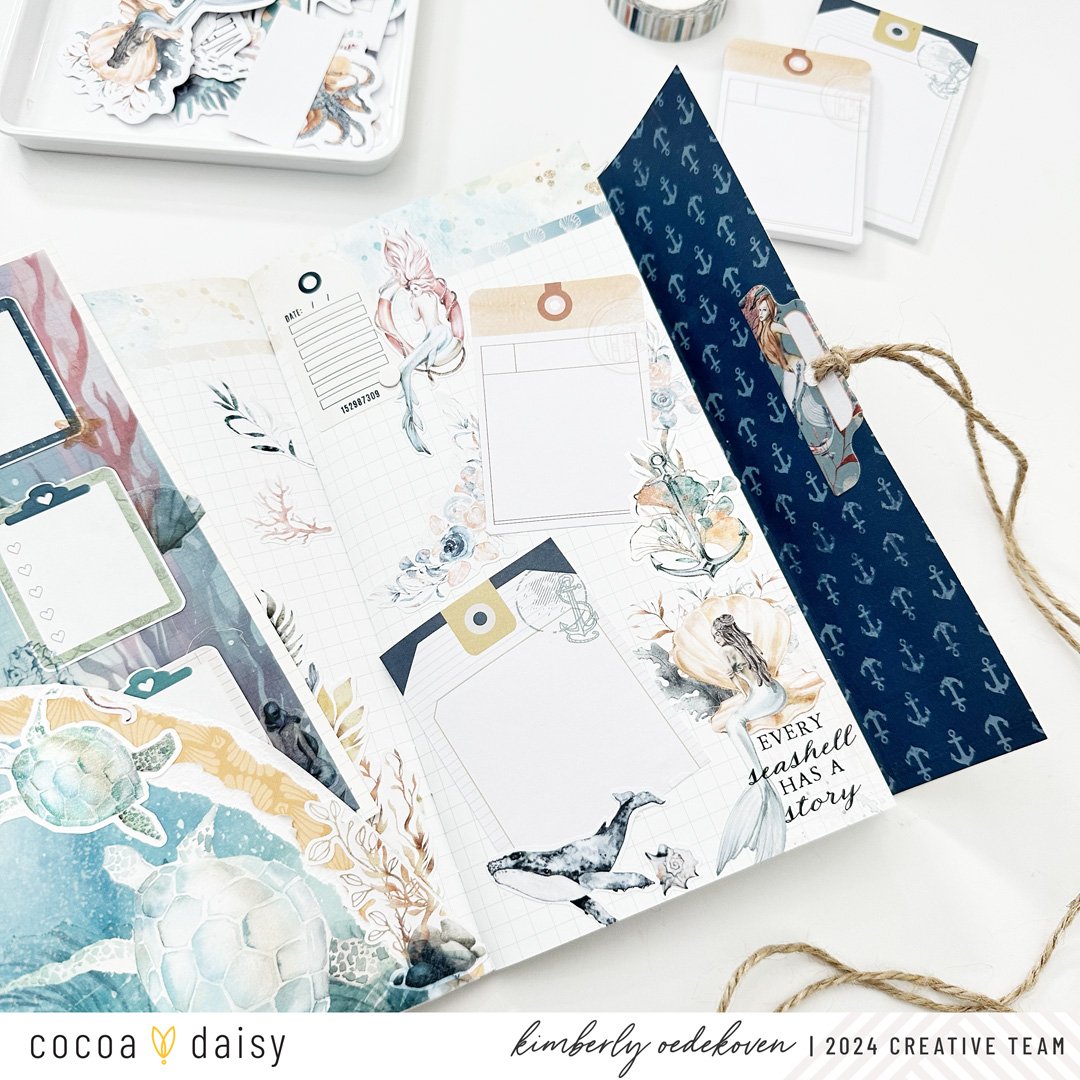
The right side also has some listing spots provided by both the sticky notes from the Main Planner kit as well as the Stationery kit one too. I love how they are both unique but companions on this page. Along the edges, I’ve placed and overlaped more stickers including the one where the date will go!

Popular Posts