Featured
- Get link
- X
- Other Apps
Sundrenched Stationery
https://youtube.com/shorts/X1n9u5lVbe4

If you were to ask me if I could only pick one kit to work with each month along with my standard size Cocoa Daisy Notebook, my definitive answer would be the Stationery Kit. The diversity and inclusivity of paper products is the best!

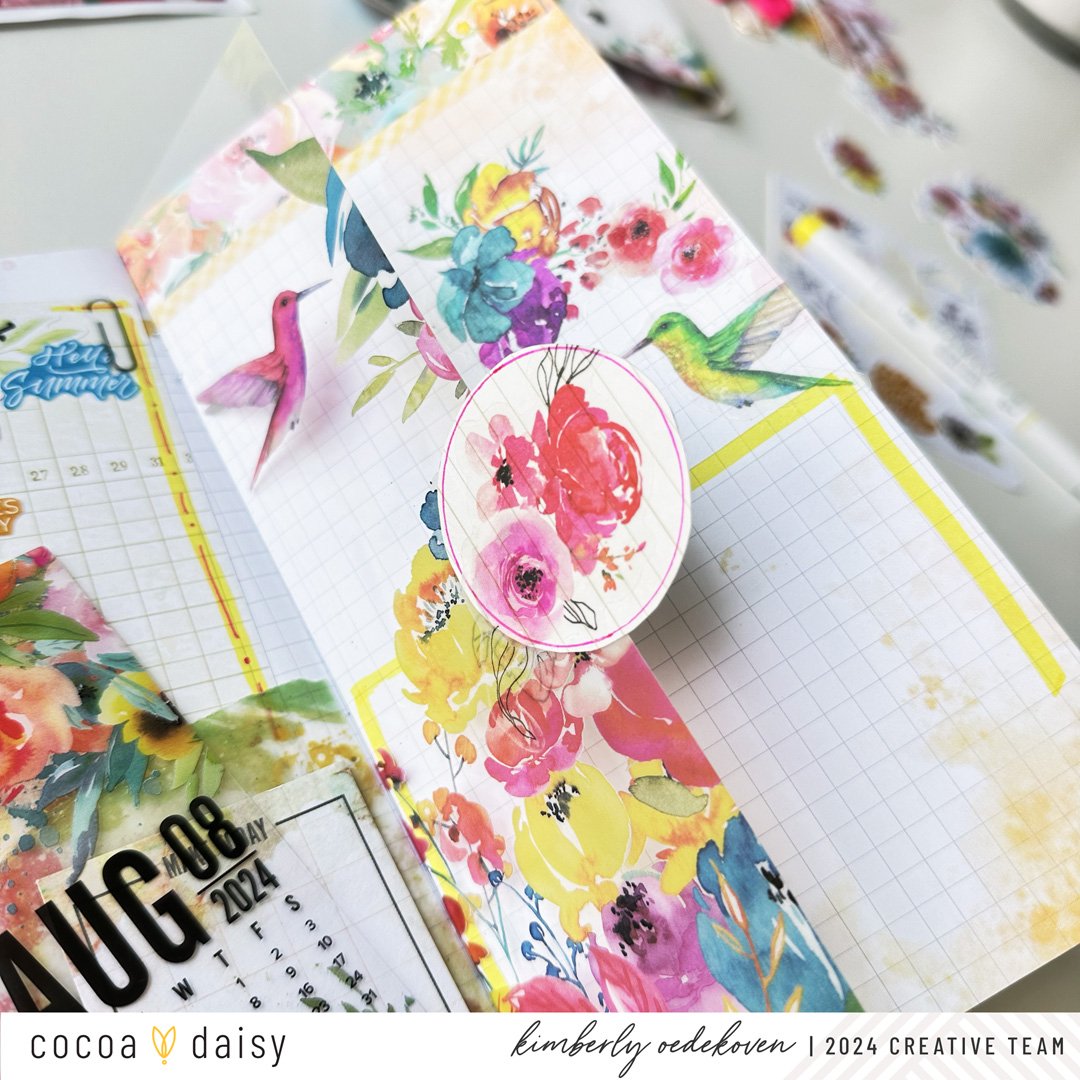
Using the foiled vellum sheet, I tore a piece to create a pocket on the left hand side of my page to house the kit included acrylic August calendar and a list bookmark. The Mildliner and stickers in the kit made making a simple cast off piece of paper into a perfect place to put my biometrics for the week. The sticky notes were adhered up front to easy grocery list action.

Because I take apart the Notebooks each month, it gave me an opportunity to put a dramatic flap effect with the acrylic sheet. It is wide enough to put a sticky note on it and whimsical to afford a secret list underneath. Adding extra vellum die cuts to the page makes my Sundrenched spread a winner!
- Get link
- X
- Other Apps

